One of the items from this year’s Microsoft Build Conference that stood out for me was Playwright during Scott Hanselman and Friends Keynote.
Playwright is a Headless Browser testing framework that enables fast, reliable end-to-end testing across all modern browsers.
If I can automate something, count me in.
I have used Selenium UI in the past but thought I would take a quick look at Playwright and see how easy it was to implement in a brand-new project.
The Walkthrough
This quick walkthrough will take you through the steps I took to get Playwright working in an xUnit Test project and running a test against a Blazor Server App.
First, we need to create our Blazor Server App. Open Visual Studio 2019, select “Create a new project” on the Start Window, select Blazor Server App and click Next. Give the project a name, click Next, keep the defaults selected and click Create.
Note: I’m running version 16.10 of VS 2019 and using .NET 5.
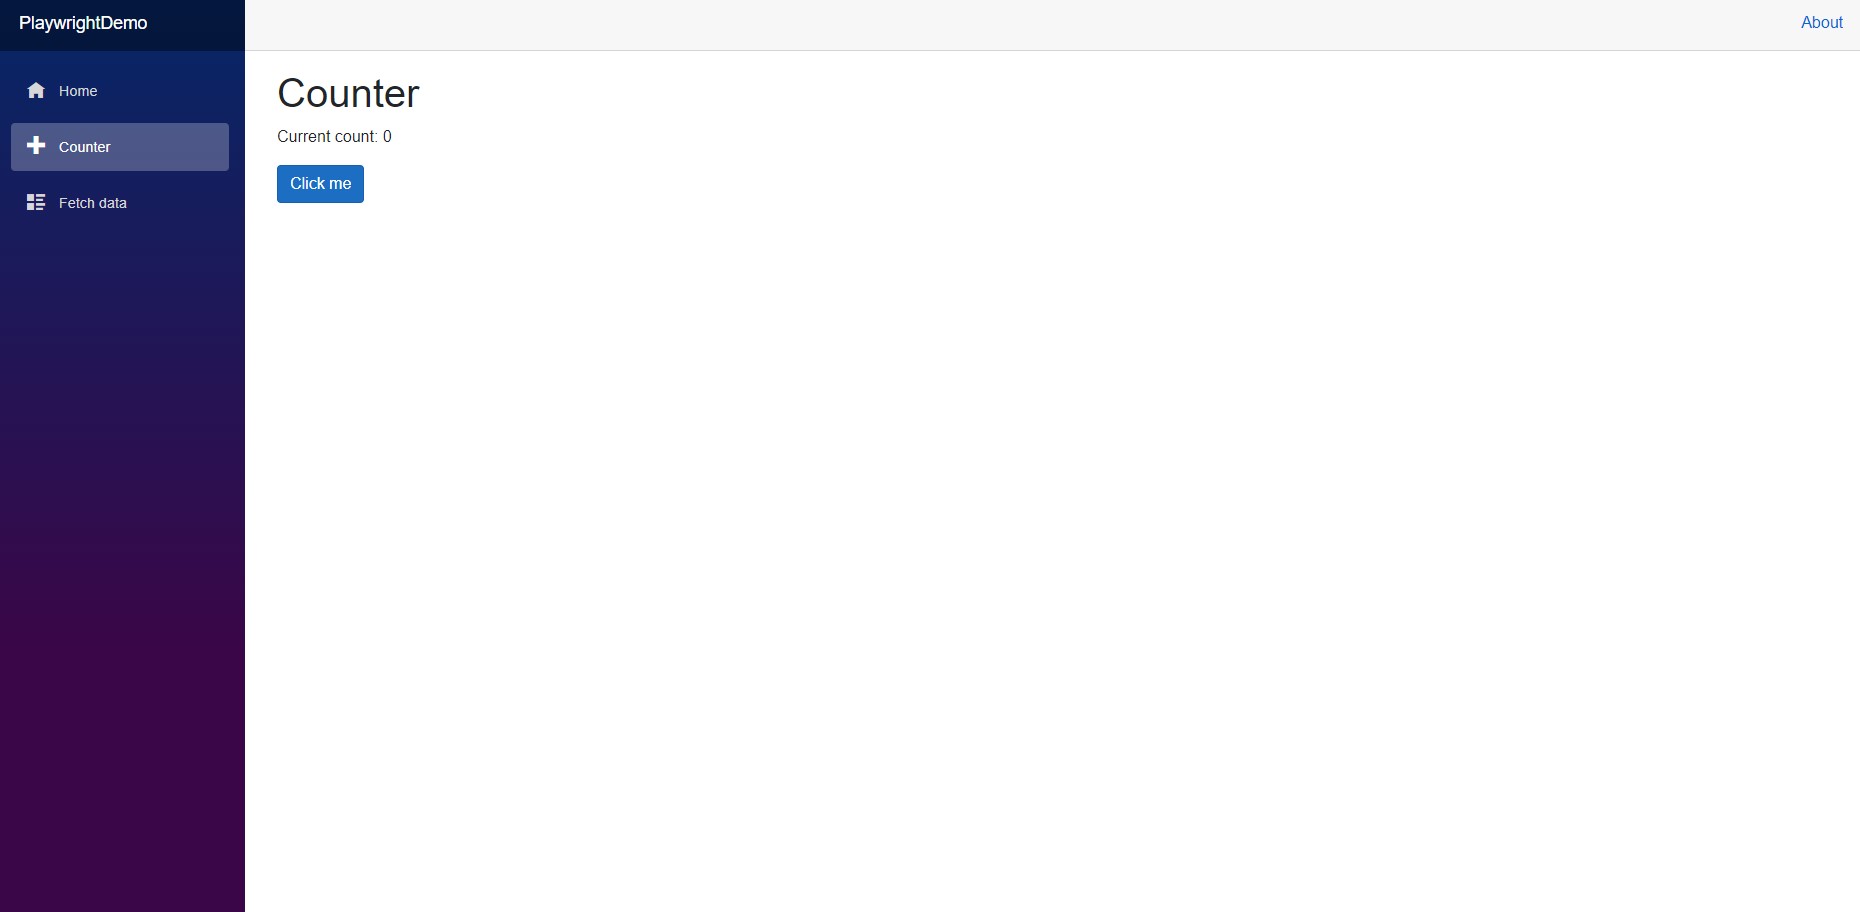
This will generate a new Blazor Server App with a default template that includes the Counter page and “Click me” button.
Next, add a Test project to your solution. In my case, I added an xUnit project as that is what I’m most familiar with.
To do this, right click on your solution and “Add -> New Project…”. Select xUnit Test Project and click Next. Again, give the project a name, click Next, keep the defaults selected and click Create.
If you wish, you can rename the class that’s already added to your project. Something like PlaywrightDemoTests.
For our next step, we need to add the PlaywrightSharp Nuget package to the newly created xUnit Test project. Right click on your Test project and Manage Nuget Packages. Search for PlaywrightSharp and install the latest version.
Once that’s installed, we’re in a position to run our Blazor Server App and the Playwright Inspector.
The Blazor Server App should already be set as the Start-up Project, so hit F5 to spin it up.
Once it’s running, make a note of the URL. In my case, it was https://localhost:44379/. We need to make sure the application is running so that Playwright can connect to it.
Now, we need to get the Playwright Inspector running.
Within Visual Studio, go to View and select Terminal. This will load up the Developer PowerShell. Run the following command, “npx playwright codegen https://localhost:44379/” (You will need to make sure Node.js 12 or above is installed).
This will spin up another copy of your Blazor Server App and run the Playwright Inspector.
In this copy of the Blazor Server App, navigate to the counter page.
Immediately you will see Playwright recording the steps and refactoring the code as it monitors your actions.
We can now take that generated code and put it our test project. Make sure to change the output to C#. In this example I have change the browser to be headless.
[Fact]
public async Task CanNavigateToTheCounterPage()
{
	await Playwright.InstallAsync();

	using var playwright = await Playwright.CreateAsync();

	await using var browser = await playwright.Chromium.LaunchAsync(
		headless: true
	);

	var context = await browser.NewContextAsync();

	// Open new page
	var page = await context.NewPageAsync();

	// Go to https://localhost:44379/
	await page.GoToAsync("https://localhost:44379/");

	// Click text=Counter
	await page.ClickAsync("text=Counter");

	Assert.Equal("https://localhost:44379/counter", page.Url);
}
A super simple test I know, but this is more about the ease of using Playwright and getting the automated tests into your Test project.
To run the test, we need to run the Blazor Server App and then from the Developer PowerShell window, run the command dotnet test – I’m sure there is a way to run this test and get it to run the localhost application without having to spin it up manually. I’ll provide an update when I find it.
You should see the test start to run and if all is well, you should see a passing test.

In summary, it was relatively easy to get this up and running and there are a multitude of scenarios you can use Playwright to test.
To take this further, there is a great deal of documentation at https://playwright.dev/dotnet/docs/intro/ to help you on your way and get the most out of the framework.
The great thing is you can add this to your Continuous Integration environments too https://playwright.dev/docs/ci.